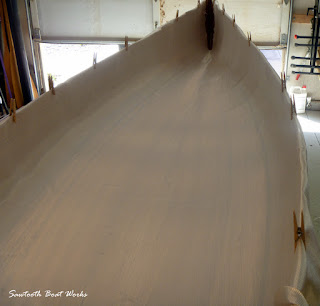
The process of fiberglassing the interior of the hull is very similar to what was done on the exterior but a few of the steps are very different. Planing and sanding the exterior planks is much easier and when the hull is completed, the exterior is generally fairer than the interior. When planking the hull, I always try to justify the planks so that the interior will need a minimum amount of work even if it results in the exterior being a little rough (which can be easily remedied).
Hours (and hours) are spent scraping and sanding the interior to get everything just right. Fairing the interior is much more difficult than fairing the exterior.
Before fiberglassing, a fillet must be formed around the lower part of each stem. This fillet has two purposes. It will add strength to the part of the hull that takes the most abuse and also gives the fiberglass a surface it can conform to.
This photo shows the make-up of the stem. Outer stem, inner stem, fillet on each side for the interior fiberglass strip to lie on.
The fiberglass is carefully laid out and fitted to the curvaceous interior. Much care is taken to do this without snagging the fiberglass on trimmed exterior fiberglass along the gunwales.
We avoid distorting the fibers by using a four-inch wide, soft bristled paintbrush to conform the fiberglass to the hull and to smooth out the wrinkles. Some snags and imperfections are inevitable but can be worked out using a small pick and a stiff bristled brush (i.e. toothbrush). Sunlight on the finished boat will show these flaws if not taken care of now.
The fiberglass is difficult to work into the stems, so we do this in several stages. First, a three-inch strip is wetted out down the center of the stem. Then, fiberglass pieces about 18 inches long are wetted out on each side of the stem (overlapping the three inch strip). Then the main piece of fiberglass is fitted and trimmed so that it overlaps the 18 inch pieces. This method is much, much easier than trying to do it all in one piece.
Finally, the main section is wetted out. Two or three more coats of epoxy will follow this.


